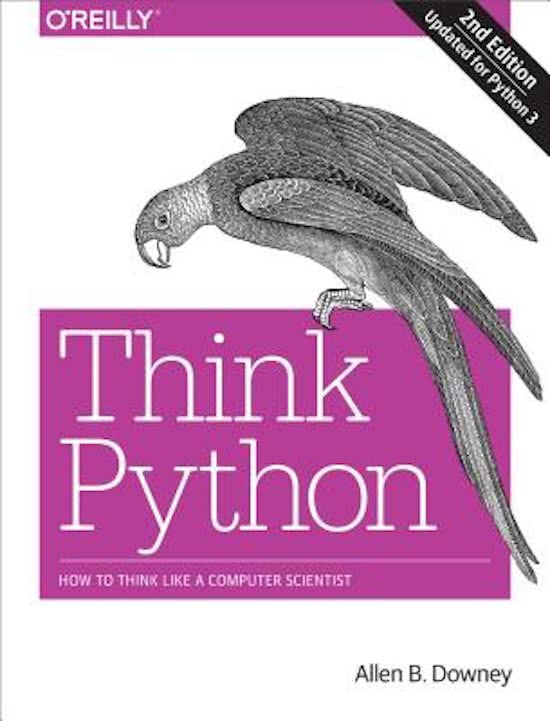
This is the summary for YOU, if you want to learn the basics of Python quickly.
Not everyone has time to read a book of more than 200 pages.
That's why I thought, why don't I make a short summary of it!
This is a summary of chapter 4 of the book ThinkPython2 (with the exercises!).
I can't summari...
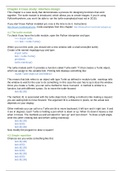
Chapter 4 Case study: interface design
This chapter is a case study that demonstrates a process for designing functions that work
together. The turtle module is introduced, which allows you to create images. If you’re using
PythonAnywhere, you won’t be able to run the turtle examples(at least not in 2015).
If you don’t have Python installed yet, now is the time to do it. Instructions:
http://tinyurl.com/thinkpython2e. Code examples from this chapter: http://thinkpython2.com/code/ polygon.py.
4.1 The turtle module
To check if you have the turtle module, open the Python interpreter and type:
>>> import turtle
>>> bob = turtle.Turtle()
When you run this code, you should see a new window with a small arrow(the turtle).
Create a file named mypolygon.py and type:
import turtle
bob = turtle.Turtle()
print(bob)
turtle.mainloop()
The turtle module (with ’t’) provides a function called Turtle (with ’T’) that creates a Turtle object,
which we assign to the variable bob. Printing bob displays something like:
<turtle.Turtle object at 0xb7bfbf4c>
This means that bob refers to an object with type Turtle as defined in module turtle. mainloop tells
the window to wait for the user to do something. In this case the user has to just close the window.
Once you create a Turtle, you can call a method to move it around. A method is similar to a
function, but with different syntax. So to move the turtle forward:
bob.fd(100)
The method, fd, is associated with the turtle object bob. Calling a method is like making a request:
you are asking bob to move forward. The argument fd is a distance in pixels, so the actual size
depends on your display.
Other methods you can call on a Turtle are bk to move backward, lt left turn and rt right turn. lt and
rt are in degrees. Each Turtle is holding a pen which is down or up. When it’s down it leaves a trail
when it moves. The methods pu and pd stand for “pen up” and “pen down”. To draw a right angle,
write this (after creating bob and before calling mainloop):
bob.fd(100)
bob.lt(90)
bob.fd(100)
Now modify the program to draw a square!
4.2 Simple repetition
Chances are you wrote something like this:
bob.fd(100)
bob.lt(90)
bob.fd(100)
bob.lt(90)
bob.fd(100)
bob.lt(90)
bob.fd(100)
Les avantages d'acheter des résumés chez Stuvia:
Qualité garantie par les avis des clients
Les clients de Stuvia ont évalués plus de 700 000 résumés. C'est comme ça que vous savez que vous achetez les meilleurs documents.
L’achat facile et rapide
Vous pouvez payer rapidement avec iDeal, carte de crédit ou Stuvia-crédit pour les résumés. Il n'y a pas d'adhésion nécessaire.
Focus sur l’essentiel
Vos camarades écrivent eux-mêmes les notes d’étude, c’est pourquoi les documents sont toujours fiables et à jour. Cela garantit que vous arrivez rapidement au coeur du matériel.
Foire aux questions
Qu'est-ce que j'obtiens en achetant ce document ?
Vous obtenez un PDF, disponible immédiatement après votre achat. Le document acheté est accessible à tout moment, n'importe où et indéfiniment via votre profil.
Garantie de remboursement : comment ça marche ?
Notre garantie de satisfaction garantit que vous trouverez toujours un document d'étude qui vous convient. Vous remplissez un formulaire et notre équipe du service client s'occupe du reste.
Auprès de qui est-ce que j'achète ce résumé ?
Stuvia est une place de marché. Alors, vous n'achetez donc pas ce document chez nous, mais auprès du vendeur Yuna429. Stuvia facilite les paiements au vendeur.
Est-ce que j'aurai un abonnement?
Non, vous n'achetez ce résumé que pour €2,99. Vous n'êtes lié à rien après votre achat.